
Flutter introduction
Flutter is a mobile app development framework created by Google. It utilizes the Skia rendering …
read moreAt the beginning, when we have a developed application and want to publish it, many questions arise. How is it done? What do I need? How much does it cost? This time, we are going to see how to publish our app on one of the most popular app stores: Google Play and App Store. The process from having our app ready to it being available in the stores is long, with several steps and many details to consider, but don’t worry, it’s more tedious than difficult.
The first thing we need is to have our app developed and ready to publish. If you don’t know how to do it, I recommend following our Flutter series where we teach you how to develop cross-platform mobile applications with this framework. Once we have our app developed and ready for production, with its texts translated, logos, and icons, signed and ready; the first thing would be to register as a developer in the app stores. The requirements are:
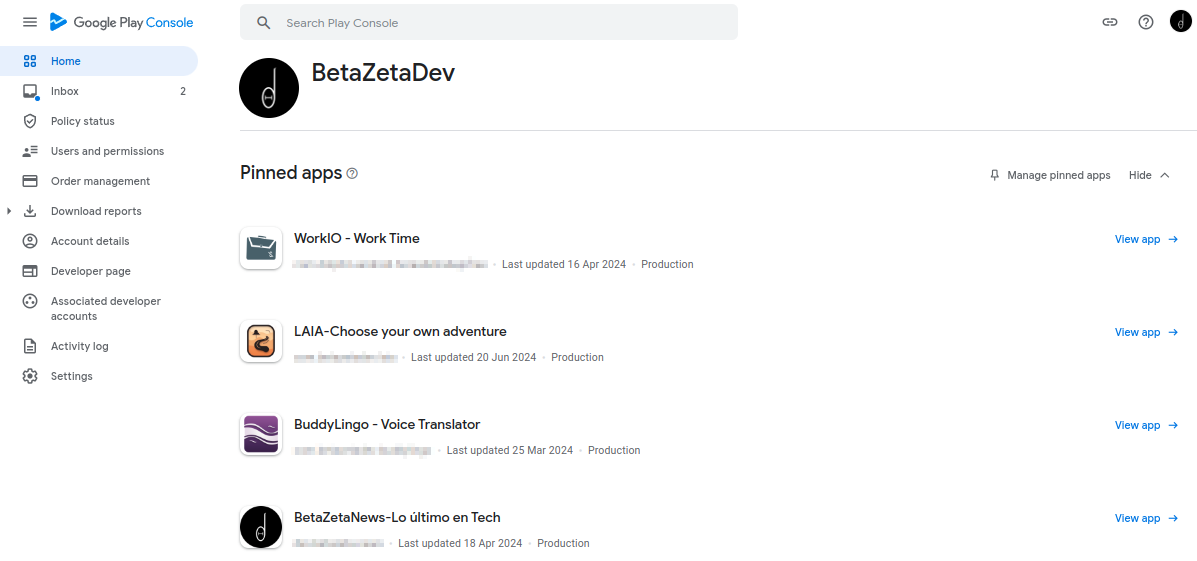
With a Google account and a one-time payment of $25, we can publish all the applications we want on Google Play. There is no publication limit as long as we do not exceed the guidelines of Google’s policies. Once registered on the platform, we will have access to the Google Play developer console where we can upload our applications, manage them, update them, see statistics, etc.
With our Google Play developer account created, let’s see the process of publishing our app. As soon as we create a new application in the Google Play console, the interface itself provides a series of steps to follow to bring our application to production. The steps are as follows:
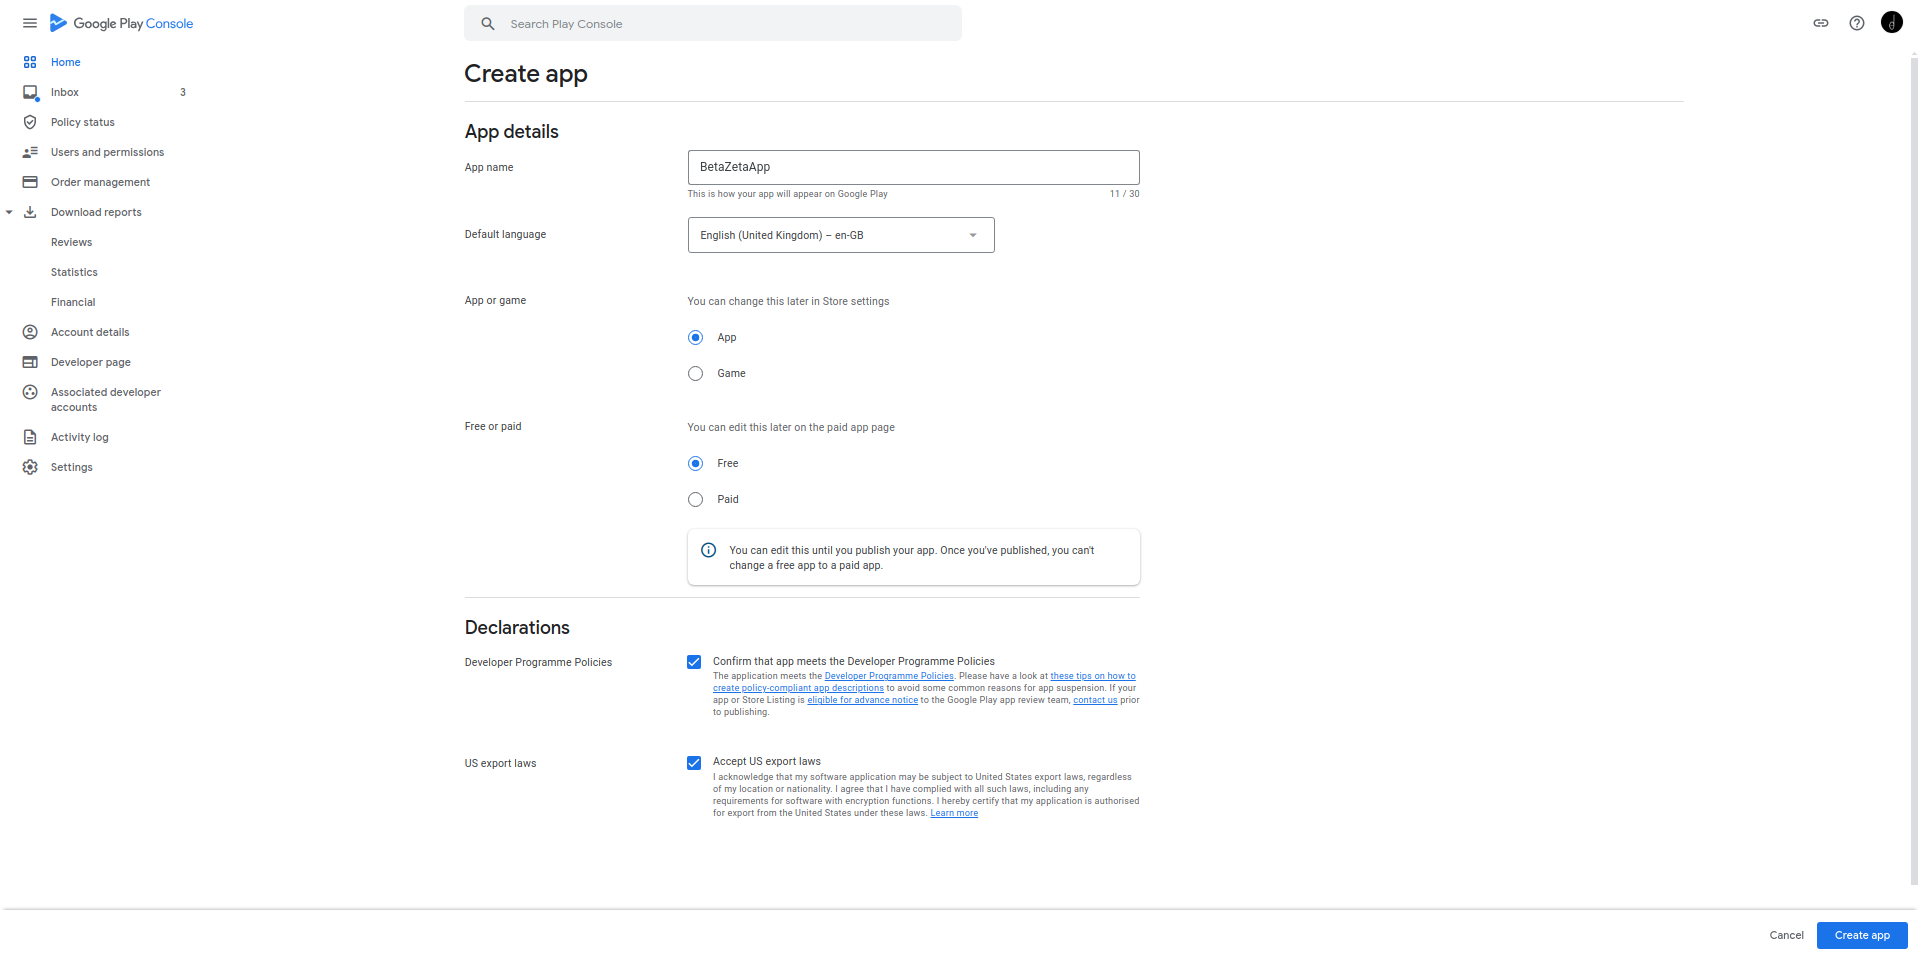
In the Google Play console, we can create our application by assigning it a name, selecting the default language and type of app, as well as whether it will be free or paid. After confirming the developer program policies and U.S. export laws, our application will be created in the console.
From here, the main part of the process of publishing our app on Google Play begins. The next step would be to upload the application for testing. There are multiple types of tests we can do before publishing our app on Google Play, and in our article on testing on Google Play and Apple Store, you can find more information about each of them.
We would need to configure the testers (those who will test our application) for each testing phase we want to conduct. We can perform internal, closed, and open tests before sending our application to production. For each version, we can escalate through each type of test to ensure it functions correctly. The difference between them is simple:
In the closed testing phases, Google Play offers the option to manage different tracks. Each track allows greater granularity in managing versions of your application, enabling parallel testing in different environments or with different groups of testers. For example, you can have an alpha track for initial tests with a small group and a beta track for broader tests before moving to an open test.
Although optional, it is highly recommended to perform tests before taking our application to production on Google Play. If we don’t have anyone who can test our application, I would at least recommend conducting internal tests ourselves to ensure everything works outside our development environment. Then we can move the application through the different testing phases until it goes to production.
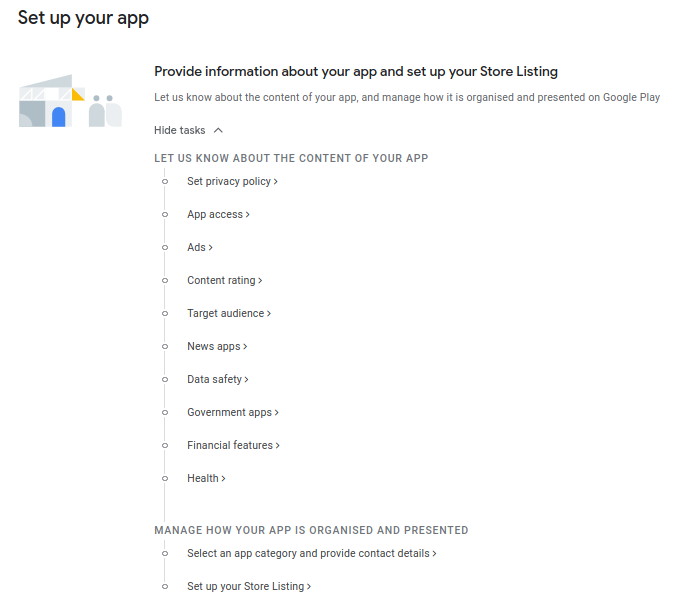
An important step before we can bring our application to production is to configure all its details in Google Play. Privacy policies, legal questionnaires, advertising, content rating, etc. In this step, the legal aspects of both the application and its content are described.
Set Privacy Policy: At this point, you set a link to the privacy policy. This is crucial to comply with regulations and define the handling of user data.
App Access: Define how the people responsible for reviewing applications on Google Play can access restricted parts to test it, user and password, two-factor authentication, if it must be accessed from a specific physical location, etc. It is important so they can test it; if you do not provide this information, your application could be removed or updates blocked.
Ads: If your application will display ads, you must indicate it here.
Content Rating: The content rating helps users understand the type of content they will find in your application. Complete the rating questionnaire to get an appropriate rating (e.g., PEGI, ESRB). It is a process that can take a few days, so it is important to do it as soon as possible.
Target Audience: Specify the target audience of your application, including the age of the users it is intended for and whether the application is designed for children, adults, or a general audience.
News Apps: If your application is a news app, you will be asked for details about the news sources, update frequency, etc.
Data Safety: Describe the measures you have implemented to protect user data. What data your application collects, its security, the type, and how it is used and handled.
Government Apps: If your application is intended to be used by government entities or has content relevant to this sector, make sure to clearly describe its purpose and functionality.
Financial Features: If your application includes financial features, such as payments, money transfers, or investment management.
Health: For health-related applications, it is crucial to detail the purpose of the application, the types of health data it collects, and how they are used.
This is a fairly long process but necessary to comply with the law, both on our part and Google’s. Remember, our goal is to bring our application to the general public, so complying with all legal requirements is of utmost importance.
Additionally, we will also need to select the category of our app and provide the contact details that will appear on the listing. This information will be visible to users and will be used initially for support. We are also suggested to create the Store Listing, the name referring to the application’s listing, what the user sees when selecting an app in the Google store, and where the images appear along with all the information, including the one introduced in the previous step.
To upload an application and its updates to Google Play, it must be digitally signed. This signing process ensures that the application comes from the original developer and has not been modified by third parties. Digital signing is a crucial step to maintain the security and integrity of the application.
When it comes to updates, it is crucial to use the same keystore you used for the initial version of the application. Google Play verifies that updates come from the same developer by comparing digital signatures. If you try to upload an update signed with a different certificate, it will be rejected because the developer’s identity cannot be verified.
Additionally, Google Play offers an option called Google Play App Signing. With this option, you can upload an unsigned version of your application, and Google will manage the signing keys for you. This has the advantage that Google can help recover your key if you lose it. However, it is important to understand that you will be trusting your keys to Google, which may have extra implications despite its advantages.
This is a process that would warrant a standalone article. For now, it is enough to know the different options. In the official Android documentation, you have all the necessary information to sign your application.
Once all the informational and legal aspects of our application are configured, we can proceed with the publication on Google Play, at least submit it. The actual publication will come later, once Google reviews and approves that our application meets the requirements.
At this point, three parts are important:
Selection of Countries and Regions: Determine in which countries and regions the app will be available. This is a crucial decision as it affects your target market. Google Play allows you to select multiple countries and regions, so you can customize the availability of your application according to local laws and regulations.
Creating a Release: A release is a version of your application, ready to publish. During this process, you package your application into an APK or AAB file, configure the release options, and provide information about the version, number and name, what’s new, etc.
Submission to Google for Review: Once your release is ready, after completing the release form, you can submit it to Google for review. This process includes verifying that your application complies with all Google Play policies. Google will review your application both automatically and manually and notify you if there are any issues that need to be addressed before publication.
After Google has reviewed and approved your application, it will be ready to be published on Google Play. The publication can be done automatically after the review is approved or manually. We also have the option to deploy in stages using the percentage of users who will receive the update in each batch. It is important, at this point, to understand the different states that an application and/or update can acquire.
Google defines different states for applications published in the Play Store to facilitate understanding with developers and the maintenance of their assets. These are as follows, and you can see the complete information on their help page:
Draft: Your application has no presence on Google Play because you have not published it yet or it was rejected during the review process.
Internal Testing: Your application is available only for internal testing via a URL, it is not visible on Google Play.
Closed Testing: Your application is visible on Google Play, but only selected testers can install and use it.
Open Testing: Your application is visible on Google Play and anyone can become a tester. An unlimited or limited number of downloads can be set with a minimum of 1000 users for testing.
Pre-registration: Your application is available for users to pre-register on Google Play. When you launch it, customers who pre-registered will receive a notification to download the application.
Production: Your application is available for download by Google Play users in the countries or regions you have chosen.
No Active Releases: This means you did not launch updates on any track or the updates were rejected.
Unpublished: You have chosen to unpublish your application from Google Play. It is visible on Google Play only to existing users. Updates are available only to existing users.
Removed by Google: Google has indefinitely removed your application, it is not visible on Google Play and you need to submit an update that complies with the policies to have it reinstated.
Suspended by Google: Google has indefinitely suspended your application, it is not visible on Google Play and you need to successfully appeal to have it reinstated.
Once your application is published, it is crucial to monitor its performance and keep it updated. Here are some key strategies to understand and improve the user experience on Google Play:
Download and Installation Statistics: Regularly review the download and installation statistics of your application from the Google Play console. This will give you an idea of the reach and popularity of your application.
User Reviews and Ratings: Pay attention to the reviews and ratings users leave in the store. These can provide valuable insights into common issues, bugs, and areas for improvement. Try to maintain open communication with users and respond to their comments constructively.
Errors and Crashes: Use the error and crash analytics tools provided by Google Play to identify and fix technical problems. Keep your application as error-free as possible to improve the user experience.
Periodic Updates: Plan and release periodic updates to keep your application relevant and functional. Updates can include new features, performance improvements, and bug fixes.
Competitor Monitoring: Observe similar applications in your category to stay informed about trends and new features that you could incorporate into your application.
Revenue Analysis: If your application generates revenue through in-app purchases or advertising, regularly monitor the income to assess the financial performance of your application.
The Google Play developer console provides a series of additional tools to help grow our application, most of them are free. There is a translation service where you would provide the translation file and receive it back translated, maintaining its structure, in the required format, to simply integrate into our project. There is an option to use an expert human translation service with up to 48 languages or 10 for an automated service that translates static text strings in minutes.
It also provides pre-launch report tools that help anticipate and identify potential issues with our release before it reaches users, including stability, accessibility, privacy, and security errors.
Additionally, we also have experiments for listings where we can conduct A/B tests on our Play Store listing. These tests allow us to compare two or more versions of an app listing to determine which performs better in terms of conversions, i.e., which attracts more users to install the application. In these tests, one version of the listing is shown to one group of users, and another version to another group, and the results are analyzed to see which version generates more positive interactions. You can run experiments on your main store listing or on custom listings, which can help you increase installs and user retention by continuously optimizing the content and design that best resonates with your audience.
Another available tool is “deep links” to connect our apps with external services, as well as in-app purchases, subscriptions, promotional codes, price experiments, etc. The number of tools that Google Play provides to bring our application to success is enormous. Some of them might require a standalone article to explain them thoroughly, so I hope this summary of the main ones has given you an idea of the mobile application publication process on Google Play and helped you lose the fear of the process. As I mentioned at the beginning, it is more tedious than difficult.
In the next article, we will see how to publish our applications on the Apple App Store to also analyze the key concepts and thus face it with more confidence. If you have any questions, you can leave them in the comments, and I will be happy to help as much as possible. Happy Coding!
That may interest you
Flutter is a mobile app development framework created by Google. It utilizes the Skia rendering …
read moreIn the mobile app development world, ensuring quality and user satisfaction is as crucial as …
read moreIn the world of mobile application development, Flutter has stood out as one of the most innovative …
read more