
Let's talk (About) Dart, the language of Flutter
In the world of mobile application development, Flutter has stood out as one of the most innovative …
read moreIn the world of programming, one of the biggest challenges developers face is how to manage tasks that take time to complete without blocking the execution of the rest of the program. These tasks include, for example, accessing external resources (such as databases or web services), reading large files, or any CPU-intensive operations.
Asynchrony is a programming technique that allows programs to start tasks without waiting for them to finish, enabling other parts of the code to continue executing. Instead of stopping and waiting for the task’s response, the program keeps running and, once the task is completed, the system is notified that the operation has finished.
When a program executes operations synchronously, it must wait for each task to complete before proceeding. This is like standing in line at a store: each customer waits their turn until the previous customer has finished their purchase. In applications, this can cause delays if the task we are waiting for takes too long to complete.
On the other hand, asynchrony allows tasks that may take time, such as network operations or file reading, to not block the program’s execution. Instead of waiting for a task to finish, the program keeps moving forward and handles the result of the asynchronous operation when it’s ready. This improves the smoothness and responsiveness of software, especially in applications that need to be highly interactive.
Asynchrony is commonly used in scenarios where the waiting time can be long or indefinite. Some typical examples include:
In modern development, there are several techniques and mechanisms for handling asynchrony. Among the most common are:
Different programming languages handle asynchrony in different ways. For example, in JavaScript, promises are widely
used, while in Python and Dart, async and await have become the standard for writing asynchronous code clearly and
concisely.
In the next section, we will explore how Flutter, using the Dart language, implements this concept and how we can use it to create mobile applications with a smooth user experience.
Now that we understand the general concept of asynchrony in programming, it’s time to see how it applies in Flutter. It’s important to mention that Flutter’s asynchronous handling comes directly from the language it’s written in: **Dart **. Dart was designed with asynchrony as one of its fundamental features, long before Flutter existed.
Dart, the language behind Flutter, has native support for efficiently handling asynchrony using operations like * Futures* and the async and await keywords. These allow tasks to run in the background while the app remains interactive.
A Future in Dart represents something that is expected to be available in the future. It is a promise that an asynchronous operation will eventually complete and either return a value or an error.
    Future<String> fetchData() {
      return Future.delayed(Duration(seconds: 2), () => "Data fetched!");
    }

    void main() {
      fetchData().then((data) {
        print(data);
      });
    }
In this example, the fetchData function returns a Future<String> that completes after 2 seconds. Then, the then
method is used to handle the value returned by the Future when it becomes available. The result can be received
using then or with await in a function marked as async.
    Future<String> fetchData() {
      return Future.delayed(Duration(seconds: 2), () => "Data fetched!");
    }

    void main() async {
      String data = await fetchData();
      print(data);
    }
In this case, the main function is marked as async. While this is generally something to avoid, and it shouldn’t
cause issues initially, it allows us to use await to wait for the Future to complete. Let’s explore more
about async and await in the next section.
Writing asynchronous code with Futures can quickly become complex, especially if we need to handle multiple tasks. To simplify this process, Dart provides the async and await keywords.
    void main() async {
      await fetchDataAndDisplay();
    }

    Future<void> fetchDataAndDisplay() async {
      print('Fetching data...');
      String data = await fetchData();
      print(data);
    }

    Future<String> fetchData() {
      return Future.delayed(Duration(seconds: 2), () => "Data fetched!");
    }
In this example, the fetchDataAndDisplay function is asynchronous and uses await to wait for the fetchData
function to complete. The key point here is that, even though we are “waiting” for the operation to finish, the user
interface remains responsive and is not blocked.
When working with asynchronous operations, it’s important to handle any errors that might occur during execution, such as a failed network connection. For this, we use try-catch blocks in combination with await.
    Future<void> fetchDataAndDisplay() async {
      try {
        print('Fetching data...');
        String data = await fetchData();
        print(data);
      } catch (e) {
        print('Error fetching data: $e');
      }
    }
This way, if an error occurs while trying to fetch the data, we can catch it and handle it properly without causing the application to crash.
Flutter provides us with a very useful widget to handle asynchronous operations directly in the user interface:
the FutureBuilder. This widget allows us to build the user interface based on the state of a Future, which is
perfect for displaying data coming from a long-running operation, such as querying an API.
    Future<String> fetchData() {
      return Future.delayed(Duration(seconds: 2), () => "Data fetched!");
    }

    Widget build(BuildContext context) {
      return FutureBuilder<String>(
        future: fetchData(),
        builder: (context, snapshot) {
          if (snapshot.connectionState == ConnectionState.waiting) {
            return CircularProgressIndicator();
          } else if (snapshot.hasError) {
            return Text('Error: ${snapshot.error}');
          } else {
            return Text('Data: ${snapshot.data}');
          }
        },
      );
    }
This example shows a CircularProgressIndicator while the Future is still pending. Once the operation completes, the result is displayed in a Text widget. If an error occurs, an error message is shown. Below is a more complete example of how to use asynchrony in Flutter by querying an API and displaying the data on the screen.
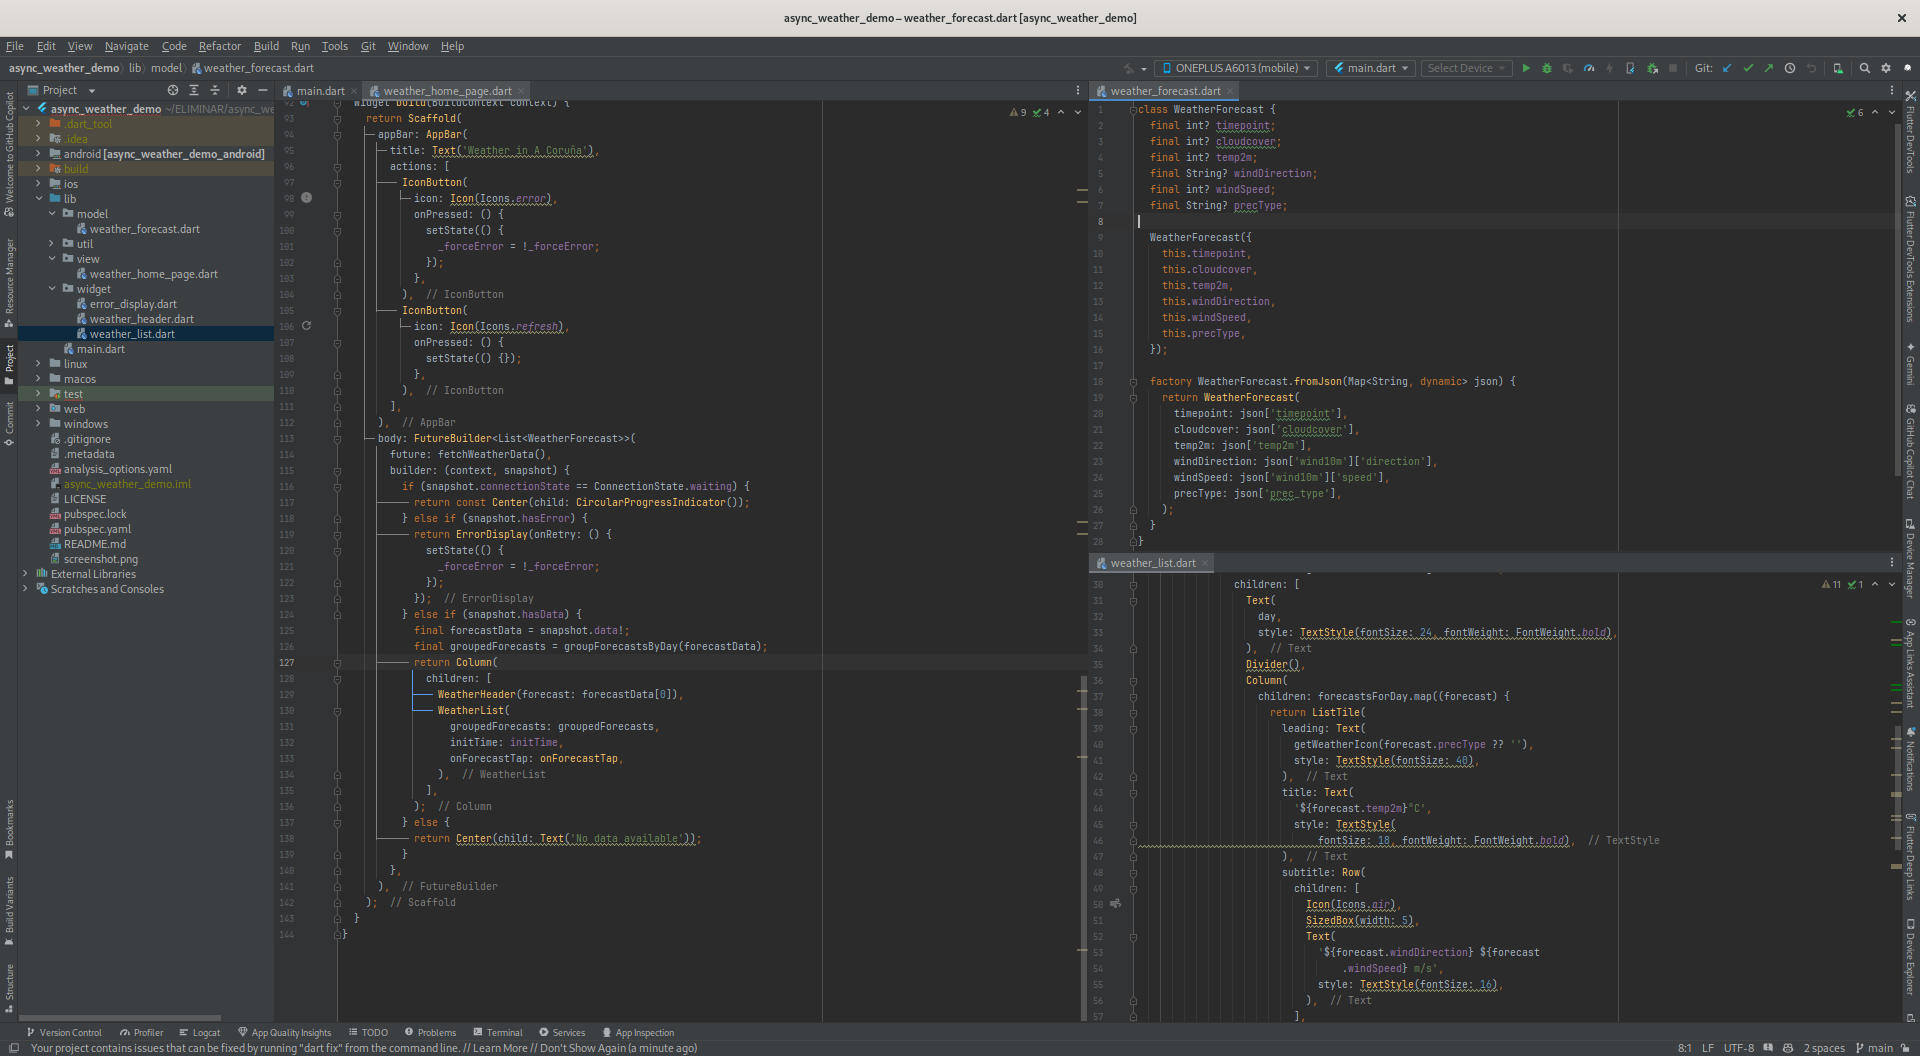
Let’s look at a practical example of how we can use asynchrony in Flutter by creating an application that queries an API and displays the data on the screen. For this, we will retrieve the weather for A Coruña (Galicia, Spain) using the 7Timer API. If we make the request to the API like this: https://www.7timer.info/bin/astro.php?lon=-8.1339&lat=42.5751&ac=0&unit=metric&output=json&tzshift=0, we will get a JSON with the current weather information and the forecast for the coming days.
In this application, we will display the temperature, wind speed, and wind direction throughout the hours and days. Below is the most relevant source code from the sample application. You can find the complete code on our Github.
We will use a FutureBuilder to handle the state of the request and display a user interface based on it.
    FutureBuilder<List<WeatherForecast>>(
        future: fetchWeatherData(),
        builder: (context, snapshot) {
          if (snapshot.connectionState == ConnectionState.waiting) {
            return const Center(child: CircularProgressIndicator());
          } else if (snapshot.hasError) {
            return ErrorDisplay(onRetry: () {
              setState(() {
                _forceError = !_forceError;
              });
            });
          } else if (snapshot.hasData) {
            final forecastData = snapshot.data!;
            final groupedForecasts = groupForecastsByDay(forecastData);
            return Column(
              children: [
                WeatherHeader(forecast: forecastData[0]),
                WeatherList(
                  groupedForecasts: groupedForecasts,
                  initTime: initTime,
                  onForecastTap: onForecastTap,
                ),
              ],
            );
          } else {
            return Center(child: Text('No data available'));
          }
        },
      ),
In this code, fetchWeatherData is a function responsible for making the request to the API and returning a list
of WeatherForecast objects, a class defined
in our model.
Depending on the state of the Future, we display a loading indicator, an error message, or the weather information in
the user interface if everything has worked correctly.
      Future<List<WeatherForecast>> fetchWeatherData() async {
        await initializeDateFormatting('es_ES', null);
        if (_forceError) {
          throw Exception('Forced error');
        }
        final response = await http.get(Uri.parse(
            'https://www.7timer.info/bin/astro.php?lon=$longitude&lat=$latitude&ac=0&unit=metric&output=json&tzshift=0'));

        if (response.statusCode == 200) {
          final data = jsonDecode(response.body);
          initTime =
          data['init']; // Guardamos el init (fecha de inicio del pronóstico)
          return (data['dataseries'] as List)
              .map((json) => WeatherForecast.fromJson(json))
              .toList();
        } else {
          throw Exception('Failed to load weather data');
        }
      }
We use async and await to make the API request asynchronously and wait for the response to become available. If the
request is successful, we convert the JSON data into WeatherForecast objects and return them. If there is an error, we
throw an exception that will be caught by the FutureBuilder, and an error message will be displayed on the screen.
In the forecast list, we have a callback that is executed when one of the forecasts is tapped. In this case, it is a synchronous callback, but we could make it asynchronous if we needed to perform an operation that takes some time.
    class WeatherList extends StatelessWidget {
        final Function(WeatherForecast) onForecastTap;
        ...

        const WeatherList({
          ...
          required this.onForecastTap,
        });

        @override
        Widget build(BuildContext context) {
          return Expanded(
            child: ListView(
                ListTile(
                    ...
                    onTap: () => onForecastTap(forecast),
          ));
        }
    }
This way, we pass the click event on the forecast back to the parent class, which will handle the action to be performed. I recommend taking a look at the complete source code of the application, which we have made available in our GitHub repository. There, you can see how the application is implemented from start to finish, and download the code to try it out in your own environment and modify it to your liking.
Asynchrony is a fundamental concept in modern programming, especially in mobile and web application development. As we’ve seen, in Flutter, using the Dart language, we can handle asynchronous operations efficiently and easily, thanks to constructs like Futures, async, and await.
By understanding how asynchrony works and how to apply it in Flutter, we can create more efficient, responsive, and interactive applications that provide a better user experience. Asynchrony allows us to perform background-intensive tasks without blocking the user interface, which is essential for keeping our apps smooth and interactive. And most importantly, Happy Coding!
That may interest you
In the world of mobile application development, Flutter has stood out as one of the most innovative …
read moreIn the previous chapter, we explored the origins of the Flutter framework, who created it, a bit …
read moreFlutter is a mobile app development framework created by Google. It utilizes the Skia rendering …
read more